Please Remember: Locking rings are not required to use the TireMinder Tire Pressure Monitoring System and should not be left on for extended periods of time.Only use the locking rings when your vehicle is going to be in a static, high risk area.
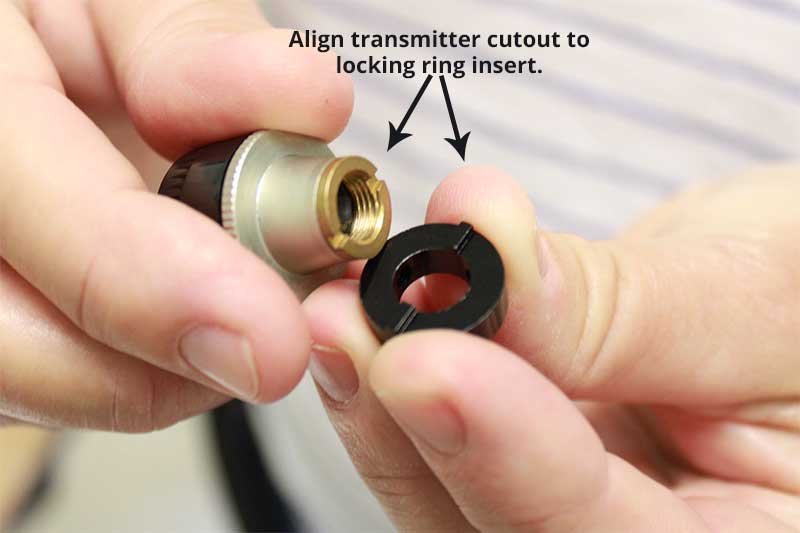
The biggest thing to remember when attaching the locking ring is to align the transmitter’s bottom cutout to the locking ring’s insert. |
Setting up the TireMinder Locking Rings |
Step 1: Get everything you need together.
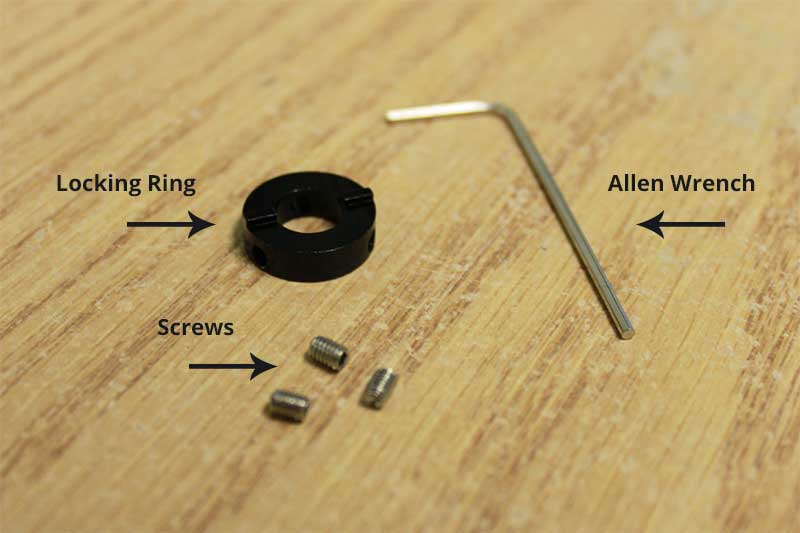
The first step to properly installing the locking rings is to make sure everything you need is together. You should have 1 locking ring and 3 screws for each transmitter you are installing on your setup. Also, there should be at least 1 Allen wrench. |
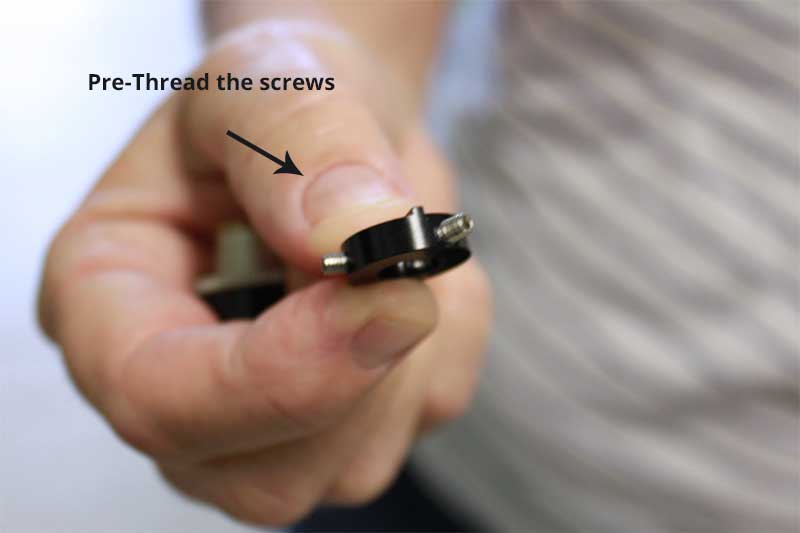
Step 2: Pre-thread the three screws to make installation easier.
Installing the locking rings without pre-threading the three screws is almost impossible. Please pre-thread the screws onto each locking ring before trying to install it. |
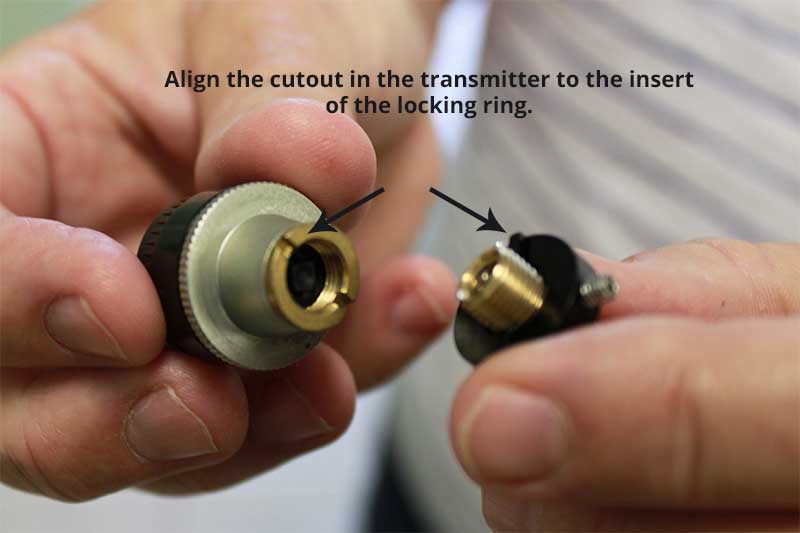
Step 3: Put the locking ring onto the valve stem.
Put the locking ring onto the valve stem, making sure that the locking ring’s insert is facing outward. Then put the transmitter onto the valve stem, aligning the transmitter’s bottom cutout to the locking ring’s insert. |
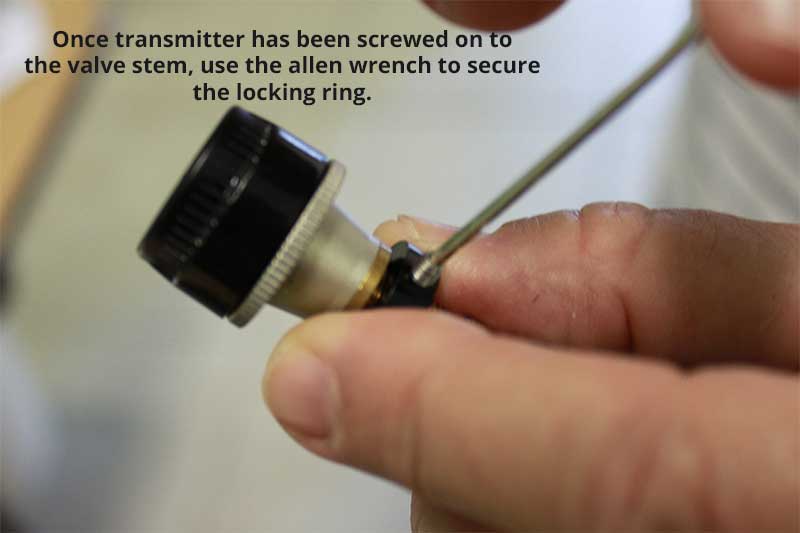
Step 4: Screw in each screw to secure the locking ring and transmitter.
Tighten each of the screws onto the locking ring to secure the transmitter and locking ring in place. Once the screws are tight on each valve stem, the installation is complete. |